The main goal behind this game was to create a beautifully immersive and ambient experience. Siding more towards the slow paced cinematic single life, single play through style of game as opposed to a fast paced high respawn style arcade game. Stylistically, me and Dylan, discussed many ways we could achieve this goal of a full immersion into both the turtle and its environment. We wanted the turtle to be the main focus at all times. We decided to completely negate the idea of HUD or any on screen representation of time or scoring.
The controls for the turtle are unique in that we used a flight simulator style control system to cater for all three planes of movement underwater, where the camera is controlled by the mouse and the AWSDQE keys are used to bank and move, forward, left, right and back.
We wanted to create an underwater atmosphere that was realistic but would also encourage exploration, the game was posed as being just as much about finding the end goal as it was about exploring the depths of the ocean and the reef mazes we wanted to create.
Drawing initial inspiration from thatgamecompanies 'Journey' we wanted to take the vast environment that rewarded exploration and the simple colour scheme and low poly appeal.


These low detail textures were our first experimentation with texturing our rocks and environmental assets:

Low Detail Texture

Low Detail Texture
I liked the low detail and minimal colour pallet, thought it suited with the Journey theme nicely.
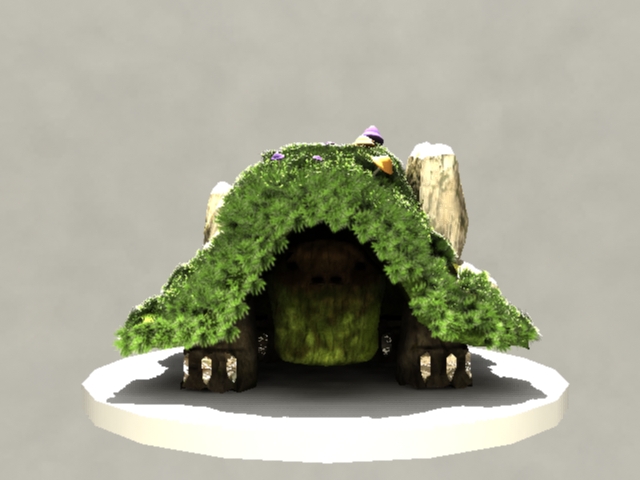
After some deliberation and experimentation with textures and overall aesthetic style of the game we opted for a more high texture/ highpoly look. We did this because we found ways of creating realistic water and depth of field fog that really suited the underwater look we were going for. We then restyled the turtle as well to suit the new aesthetic.

High Detail Texture

High Detail Texture

High Detail Texture
I also UV mapped the model for the turtle so we could have multiple painted texture maps for the turtle.


This method of texturing spherical objects is called polarizing. The top pixels are stretched to remove seems.
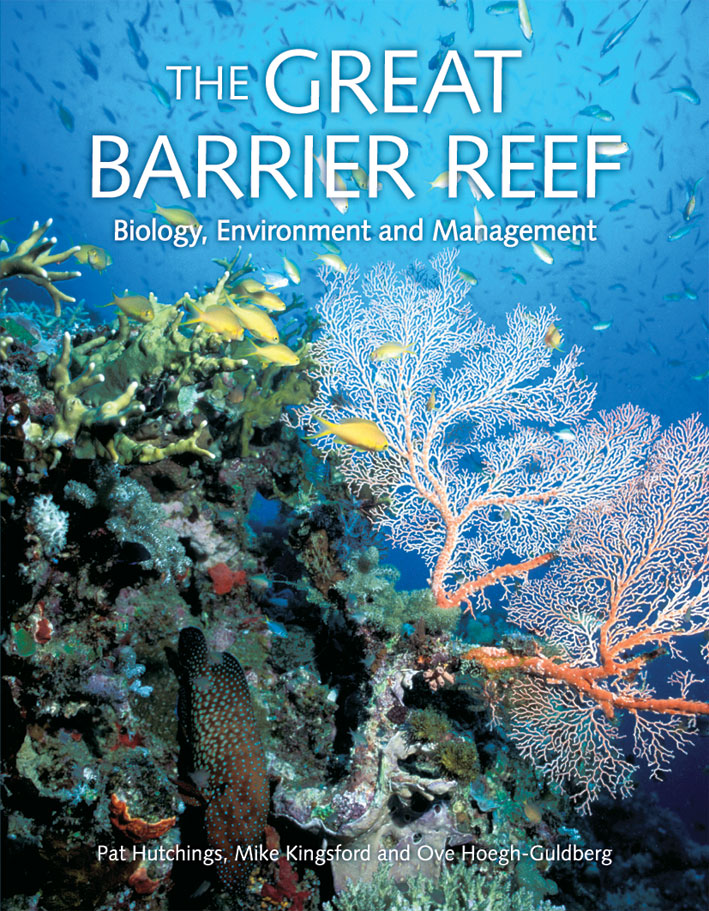
I researched the kind of flora and fauna that is common in coral reefs around the world and started to create some 2D and 3D assets to populate the environment with. Ranging from seaweeds, rocks, boulders and corals.
Creating 3D assets for Acclimatize was a difficult process because we had some issues with frame rate dropping when we had too many objects in the level. This was one of the major draw backs of creating a game that had an expansive map, detailed models and visual effects for the camera.
I did some research into how to create low poly organic models and started working with 2D flat images that are then projected onto planar maps which are then distorted and bent into suitable positions to mimic the natural growth of plants without being high poly.
Unity has a built in feature to allow flat 2D image planes to always face the camera at a flat angle. This way grass (or for this game, seaweed) doesn't disappear when the character passes its location.

Assassin's Creed 3 did a really good job on their environmental assets. They had a huge amount of foliage and plants etc but kept them simple and low detail.


I tried to create my coral and sea plants and coral similar to the way current games do it.

Low poly rocks in AC3 show how important the textures are.

Research into low poly plant modelling methods.

Coral

Coral

Coral

Coral

Seaweed

Seaweed

Grasses

Grasses

Seaweed

Kelp

Kelp

Grasses
Above is a list of the flat 2D images I painted in photoshop to resemble organic structures found in coral reefs. When applied to planar maps they can be modeled to appear three-dimensional while still retaining a low poly count.

Above is the final product for a variation in models of organic plants. Some of them are poly-plane plants which act as small bushes that are comprised of multiple flat planes to appear 3D, others are skewed planar maps with flat images

This is an image of all the assets for the environment, ranging from pebbles, rocks, boulder, corals.

Here is an image of the depth of field and fog maps used in-game.
Screen shots of the in game final product:


Sadly we had a lot of issues with frame rate and lag when we included huge amounts of assets. I think this was due to the camera and motion effects we added to the turtle and the depth of field. But these mechanics were so important to the illusion of an underwater experience that we couldn't find a way around it. If we had more time I'm sure we could have worked out how to increase both the poly count and frame rate but in terms of Acclimatize as a game I think I made some important choices for the style and aesthetic value of the game itself. Considering we wanted to capitalize on the ambiance and beauty we could create in an underwater environment I think we did a great job.
Final Video: